Since I've had some time to myself, I've decided to try my hand at baking bread. I think that in the beginning, making bread from scratch can be quite daunting. However, if you give it a try I think that you'll find it not quite as difficult as you thought.
I took this
basic bread recipe from my food hero,
Alton Brown, host of
Good Eats on Food Network. It's really simple and is also a good basis for experimenting with different ingredients and techniques.
Ingredients1 lb (approx 3 2/3 Cups) bread flour
1 tsp. instant rapid rise yeast
2 tsp. honey
10 oz. filtered water
2 tsp salt
In a small bowl, mix together 1 cup of the flour, 1/4 tsp of the yeast, all the honey, and all the water. Whisk this up real good, cover loosely, and place in the fridge. It should sit for about about 8-12 hours, so it's a good idea to do this the night before you want to bake.
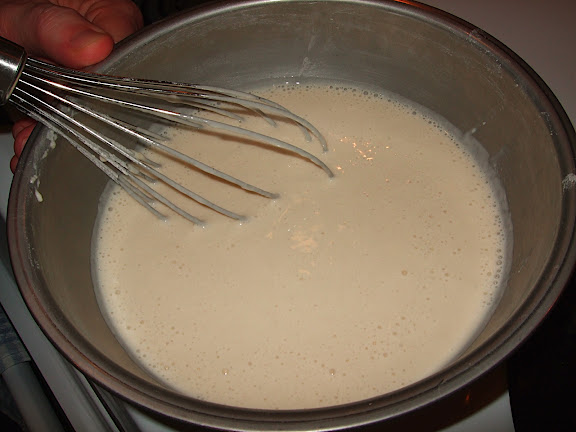
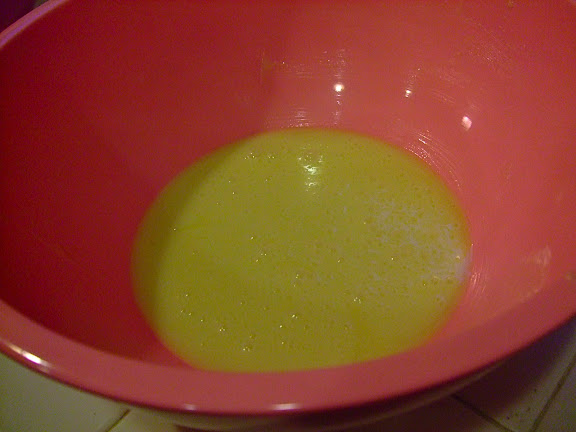
Figure 1: The starter after a good whisking.
8 to 12 hours laterIn a large bowl, mix together the starter, the rest of the yeast, salt, and 1 cup of flour. Stir till it's well combined and then slowly add the rest of the flour. You might want to forgo the spoon at this point and just get in there with your hand. You can knead in the last of the flour in the bowl or you can do it a lightly floured surface.
If you're lucky enough to have a stand mixer, this step is a lot easier. If you've got a hand mixer, then I recommend that you put it back in the cupboard. I tried this out with a hand mixer and it wasn't that great. Best to stick to your trusty ol' wooden spoon.
How do you know when you can stop kneading? If you pull off a small piece of dough, you should be able to pull it out into a sheet thin enough that light can pass through. The dough should sticky but not so sticky that you can't handle it.
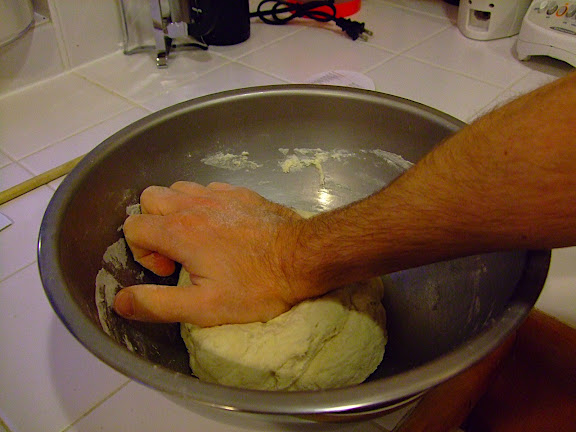
Figure 2: Kneading in the flour
Grease a straight-sided container with vegetable oil or Pam and place the dough in it. Cover the container with a kitchen towel and place it in the oven (
don't turn the oven on for this). Slide a shallow pan under the container and fill it with boiling water. Close the oven and let the dough rise until it's doubled in size. This should take about 1-2 hours.
A neat trick I gleaned from
Good Eats is to place a rubber band around the container to mark where the dough is prior to rising. This way you can more accurately gauge how much the dough has risen.
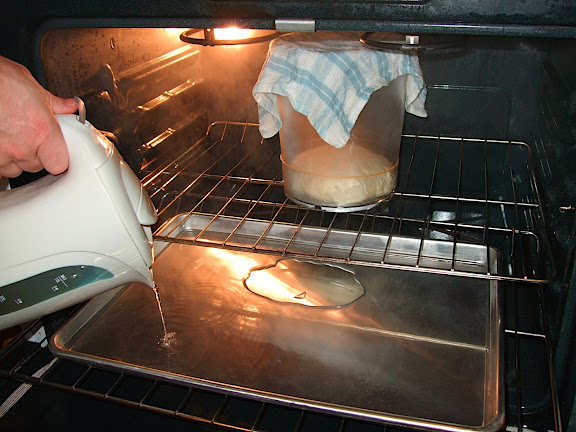
Figure 3: Dough covered and in container with a sheet pan filled with boiling water placed beneath it.
1-2 hours later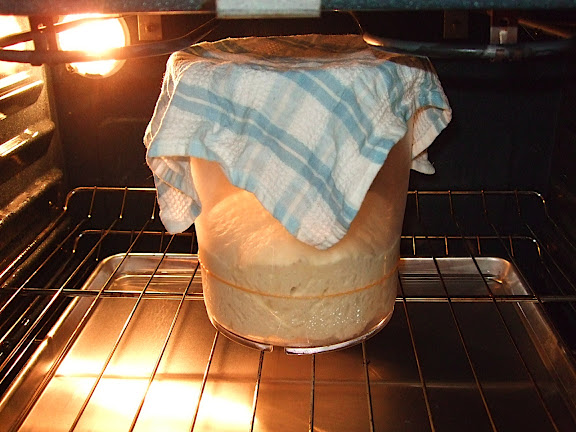
Figure 4: Dough after first rise.
Empty your dough out onto a lightly floured surface. Using your knuckles, press the dough out till it's flattened out enough for you to be able to fold the dough into thirds: first top to bottom, then left to right. Flip the folded dough over and press it out again. You're going to do this 2-3 times.
Cover the dough with a damp kitchen towel and let it rest for 10-20 minutes.
Press the dough out again and this time you're going to be forming the final shape of your loaf.
To make a
round loaf bring the edges into the center and pinch them together, forming a jelly-fish like form. Place the dough down onto your floured surface with the pinched side down. Roll the dough between your hands to get it into a nice rounded shape. Place the dough onto a baking pan that's been dusted with corn meal.
To make a more
oblong loaf, flatten the dough out and then roll it up tightly. Place it seam side down onto your baking pan (you dusted it with corn meal, right?) and tuck the ends under.
Cover the loaf with a moist kitchen towel and let it rise till it's doubled in size again. This should take about an hour. After it's risen, slash the top of the loaf a couple times.
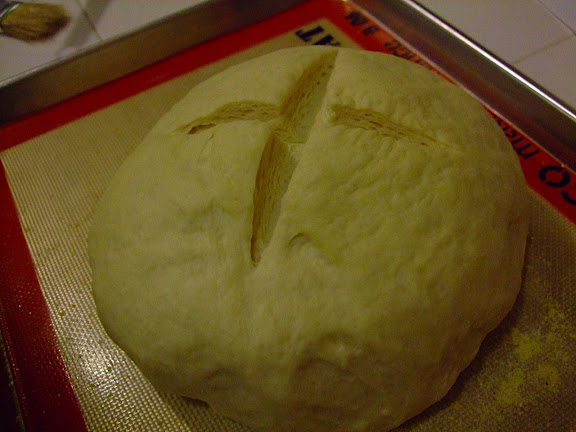
Figure 5: Dough after final rise with slashes.
At this point, I like to brush the bread with one of two options:
For a more rustic look, whisk together:
1 Tbsp cornstarch
1/3 cup water
Brush onto top of loaf after slashing.
To give your loaf a bit of a shine, whisk together:
2 Tbsp water
1 egg white
Brush onto the top of the loaf after slashing and then again after about 20 minutes of baking.
Bake loaf in a 400 degree (F) oven for 35-45 minutes (watch carefully because this time varies from oven to oven). When putting the loaf into the oven, fill a shallow pan with boiling water again and place below loaf. When the bread is done, it should have an internal temperature of about 200-210 degrees.
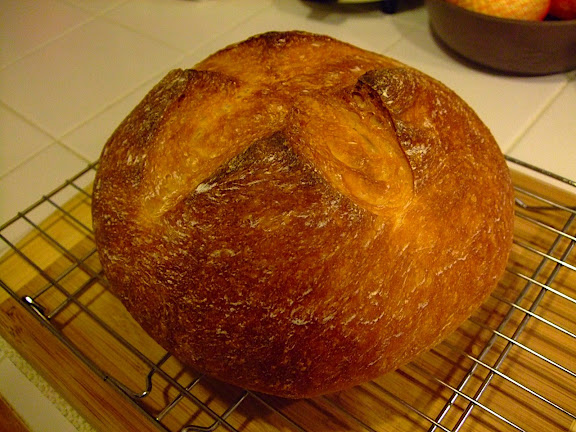
Figure 6: Round loaf with cornstarch wash.
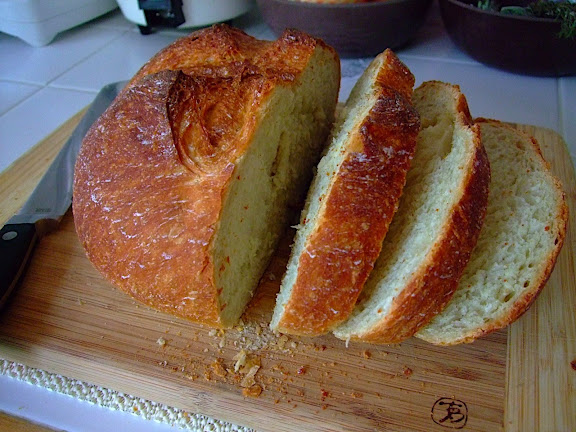
Figure 7: Ready to eat!
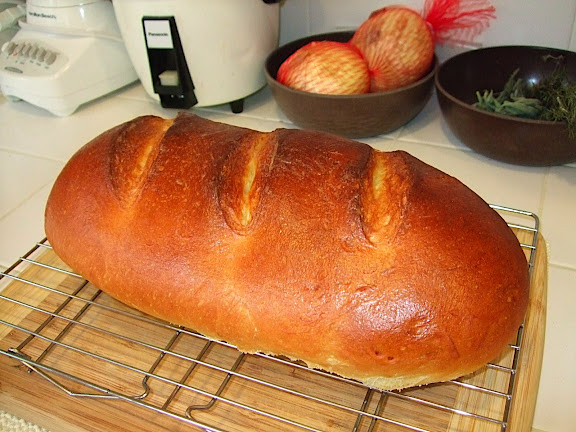
Figure 8: Oblong loaf with the egg white wash.
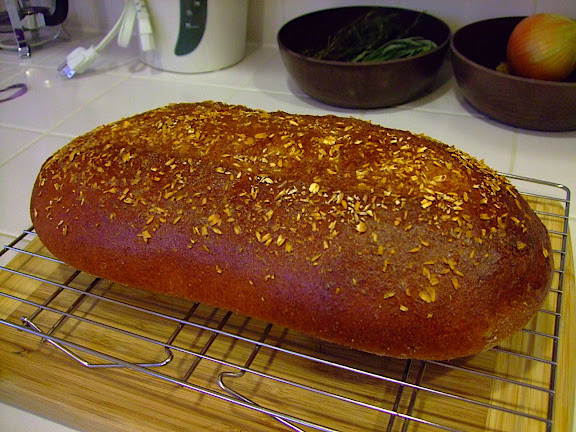
Figure 9: Whole wheat loaf with cracked oats sprinkled across the top (added after first brushing).
Have fun with this. You can do all kinds of things, add herbs, try different flours, or top the bread with different things.
Yay, carbs!